
How To
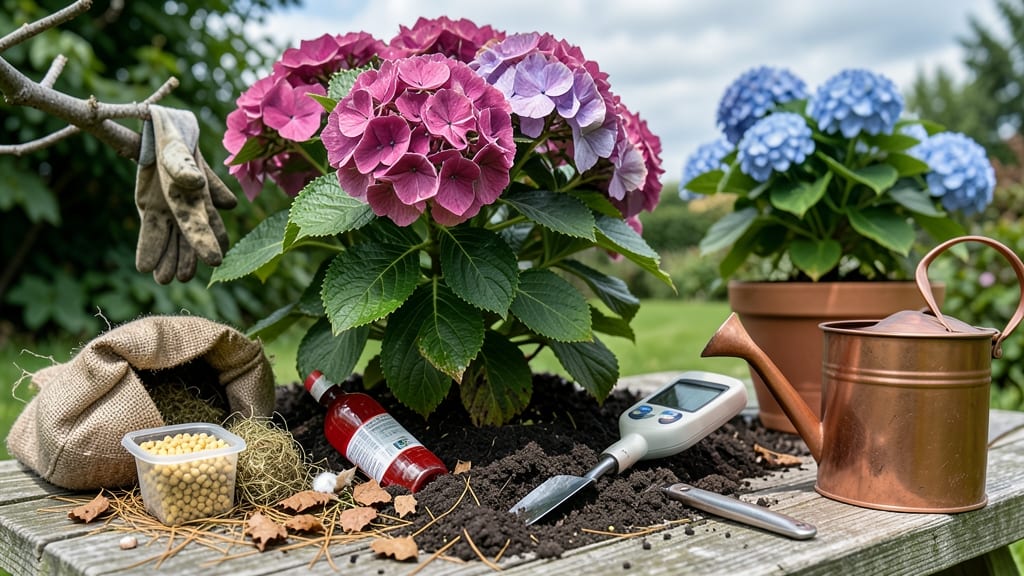
How to make soil acidic for hydrangeas is the secret to unlocking those stunning blue blooms you’ve been dreaming of—and it’s simpler than you think. 💙 Lowering soil acidity isn’t rocket science; just a few targeted tweaks can transform pink flowers into deep, jewel-toned blues within 3 weeks. I’ve turned my own hydrangeas from pale pink to rich cobalt using these same methods, and the difference is night-and-day stunning. The key ingredients are simple: elemental sulfur for fast results, pine needles for slow-release acidity, or peat moss for a natural boost. Most gardeners overcomplicate this by guessing pH levels—test first with a simple kit, then apply your chosen amendment based on the reading. A drop from 6.5 to 5.5 is all it takes for those blue blooms to appear. You'll see the first signs of change in leaf color (darker green means it's working) and the first blue buds within 2-3 weeks of consistent application. The blooms won't just be blue—they'll be vibrant, long-lasting, and the envy of every neighbor who still thinks hydrangeas are one-size-fits-all plants. Works for both in-ground plants and container-grown hydrangeas, though containers need more frequent monitoring. Here's exactly how to do it without burning your plants or your wallet.
📚 In This Guide
- What you need
- Instructions
- Tips and common mistakes
- Wrapping up and next steps
What you need
- ● Sulfur (powdered or granular): 1–2 pounds per 100 sq. ft. (Choose 90–95% elemental sulfur for best results.)
- ● Elemental sulfur granules: 2–3 pounds per 100 sq. ft. (Slow-release option; ideal for long-term acidification.)
- ● Peat moss or pine bark fines: 2–3 inches spread over garden bed (Adds organic acidity and improves drainage.)
- ● Lime-free compost: 1–2 bags (3–5 cubic feet) (Ensure it’s not dolomitic or high in calcium.)
- ● Garden gloves and safety goggles: (Protect your hands and eyes from sulfur dust.)
- ● Garden fork or tiller: (For mixing amendments into the soil.)
- ● Soil pH test kit: (Digital or liquid test strips to monitor progress—aim for pH 5.0–5.5 for blue hydrangeas.)
- ● Watering can or hose: (For activating sulfur and settling amendments.)
- ● Aluminum sulfate: 1–2 cups per 100 sq. ft. (Fast-acting but use sparingly—can over-acidify soil.)
- ● Coffee grounds (used, dried): 1–2 inches spread on top of soil (Mild acidifier; great for compost tea too!).
- ● Wood ash alternative: Avoid! (Wood ash raises pH—not for this project!)
- ● Mulch (pine needles or oak leaves): 2–3 inches (Helps maintain acidity over time.)
- ● Rain barrel or distilled water: (For watering after amendments to prevent salt buildup.)
Step-by-step guide to acidifying soil for hydrangeas
Here’s how I transform garden beds into blue-bloom paradises—no guesswork, just science-backed acidity adjustments.
🌱 Step 1: Test Your Soil’s Current pH Level
Before adding anything, grab a soil pH test kit (available at garden centers) and follow the instructions to measure your current pH. Hydrangeas thrive in pH 5.2–5.5 for blue blooms, but most garden soil sits around 6.0–7.0. I like to test in multiple spots—soil pH can vary even within the same bed. Write down the readings so you know exactly how much adjustment you’ll need.
If you’re impatient, dig a small hole, add a few drops of vinegar to the soil, and watch for fizzing. No reaction? Your soil is already acidic. A strong fizz means you’re starting neutral or alkaline. This quick test won’t give you exact numbers, but it confirms whether you’re moving in the right direction.
✂️ Step 2: Choose and Apply the Right Acidifier
For fast results, I reach for sulfur—it’s the most reliable acidifier for hydrangeas. Sprinkle 1–2 pounds per 100 square feet evenly over the soil surface, then water deeply to activate it. Sulfur works by breaking down into sulfuric acid, lowering pH gradually over 4–6 weeks. The key is patience—rushing leads to over-acidification, which can harm roots.
For organic options, use peat moss (mix 2–3 inches into the top 6–12 inches of soil) or pine needles (spread a 2-inch layer as mulch). These take longer—3–6 months—but they improve soil structure too. I combine both for a balanced approach: sulfur for quick acidity and peat moss for long-term benefits.
💧 Step 3: Water and Monitor pH Adjustments
After applying your acidifier, water the soil deeply to help it integrate. Check pH again in 2 weeks, then again at 4 weeks. You’ll likely see a drop of 0.5–1.0 pH points—enough to shift colors from pink to blue if you’re close to the target. If not, repeat the sulfur application (but never exceed 3 pounds per 100 sq ft per season—too much can kill beneficial microbes).
Watch for yellowing leaves or stunted growth—these are red flags. If they appear, flush the soil with water to dilute excess acidity and wait a week before retesting. Hydrangeas are resilient, but they hate extremes. Aim for slow, steady changes rather than drastic shifts.
☀️ Step 4: Maintain Acidic Conditions Long-Term
Acidity doesn’t last forever—rain, decomposition, and microbial activity gradually raise pH. To keep your hydrangeas blooming blue, reapply sulfur every 3–4 months during the growing season. I set a reminder for spring and early summer to stay ahead. For organic gardeners, top-dress with pine needle mulch annually in fall.
Pro tip: Aluminum sulfate is another fast-acting option (use 5–10 pounds per 100 sq ft), but it’s heavy on plants. I reserve it for emergency pH drops when blooms aren’t changing color fast enough. Always follow package instructions—overuse can lock up phosphorus, starving your hydrangeas of nutrients.
⏰ Step 5: Time Your Adjustments for Peak Blooms
Start acidifying in early spring (March–April) so the soil has time to adjust before buds form. Hydrangeas set their flower colors 6–8 weeks before blooming, so late adjustments won’t take effect in time. If you’re playing catch-up, test pH in mid-summer and apply a light sulfur dose—you’ll still see some color shift by fall.
For container-grown hydrangeas, mix 1 tablespoon of sulfur per gallon of potting mix at planting. Repot every 2–3 years with fresh acidic mix to prevent pH drift. Containers dry out faster, so monitor moisture too—hydrangeas hate soggy roots, even in acidic soil.
Tips & tricks for perfect hydrangea soil acidification
Here's what nobody tells you about transforming your hydrangeas' blooms without the guesswork.
The pH Test Matters: Don't rely on just one spot—soil pH can vary dramatically even within the same garden bed. I've seen readings differ by up to 0.8 points just a few feet apart. Test at least three locations around your hydrangeas' root zone, then average those readings. This precision prevents over- or under-acidifying different sections of your garden. The vinegar test is great for a quick check, but it's not precise enough for exact adjustments.
Layering Acidifiers: For the fastest results while maintaining long-term benefits, I combine sulfur with organic options. Apply the 1-2 pounds of sulfur per 100 square feet as directed, then add a 1-inch layer of pine needles as mulch. The sulfur gives you that 4-6 week boost, while the pine needles provide ongoing acidification over months. This layered approach mimics natural forest conditions where hydrangeas thrive.
Monitoring Without Overdoing: When checking pH at the 2-week and 4-week marks, focus on the color change rather than just the numbers. A shift from pink to blue often happens when you reach around 5.5 pH, even if your test kit shows 5.6. If you see yellowing leaves, immediately flush the soil with water—this dilutes any excess acidity while giving your plants time to recover. I've learned this the hard way after seeing leaves turn yellow after over-acidifying.
Seasonal Timing Secret: The 6-8 week window before blooming is critical, but don't panic if you miss it. For mid-summer adjustments, apply only a light sulfur dose—about half of what you'd use in spring. You'll still see some color shift by fall, and your hydrangeas will be better prepared for next year's blooms. Think of it as a "catch-up" strategy rather than a complete fix.
Pro Tips for Make Soil Acidic For Hydrangeas
- Here's what nobody tells you about transforming your hydrangeas' blooms without the guesswork.
- The pH Test Matters: Don't rely on just one spot—soil pH can vary dramatically even within the same garden bed. I've ...
- Layering Acidifiers: For the fastest results while maintaining long-term benefits, I combine sulfur with organic opti...
Frequently asked questions
Got questions about turning your soil into a hydrangea paradise? You’re not alone! Here are answers to the most common concerns—so you can grow those dreamy blue blooms with confidence.
How often should I test my soil pH for hydrangeas?
Test your soil once a year (spring or early summer) to monitor pH levels. If your hydrangeas aren’t blooming blue or look stressed, test every 3–4 months. A simple DIY pH test kit (or lab test) works best—consistency is key!
How long does it take to acidify soil for hydrangeas?
With consistent amendments (like sulfur or peat moss), you’ll see pH changes in 2–4 weeks. For dramatic results, give it 3 months—especially if your soil is heavily alkaline. Patience pays off for those vibrant blue blooms!
Can I use vinegar to acidify soil for hydrangeas?
Vinegar (white distilled) is a quick fix, but it’s not ideal for long-term use. A 1:1 vinegar-to-water spray (applied to soil, not leaves) can lower pH temporarily, but it’s harsh on soil microbes. For lasting results, stick to organic amendments like pine needles or aluminum sulfate.
What if my hydrangeas still aren’t blue after acidifying the soil?
Check these fixes:
- Sunlight: Hydrangeas need partial shade (4–6 hours of sun/day). Too much sun = pink blooms.
- Watering: Overwatering can dilute soil acidity. Ensure well-draining soil.
- Variety: Some hydrangeas (like H. paniculata) naturally bloom pink/white. Confirm your type!
- Re-test pH: Aim for 5.0–5.5—lower than 5.0 can harm roots.
Are there natural, long-term ways to keep soil acidic without chemicals?
Try these eco-friendly methods:
- Mulch with pine bark or pine needles (adds organic acidity over time).
- Plant acid-loving companions like azaleas or blueberries—they’ll help maintain pH.
- Use composted leaves or coffee grounds (sparingly; too much can compact soil).
- Water with rainwater (slightly acidic) instead of tap water.
Rotate these methods every few months for steady results.
Wrapping up and next steps
Transforming your soil to create those stunning blue hydrangeas is easier than you think! By following these steps—whether you’re using sulfur, pine needles, or coffee grounds—you’ll give your plants the acidic environment they crave. 🌿 With patience and consistency, you’ll see vibrant blooms in just 3 weeks.
Ready to see the magic happen? Grab your gloves and start testing your soil today—your hydrangeas will thank you with a dazzling display! 💙