
How To
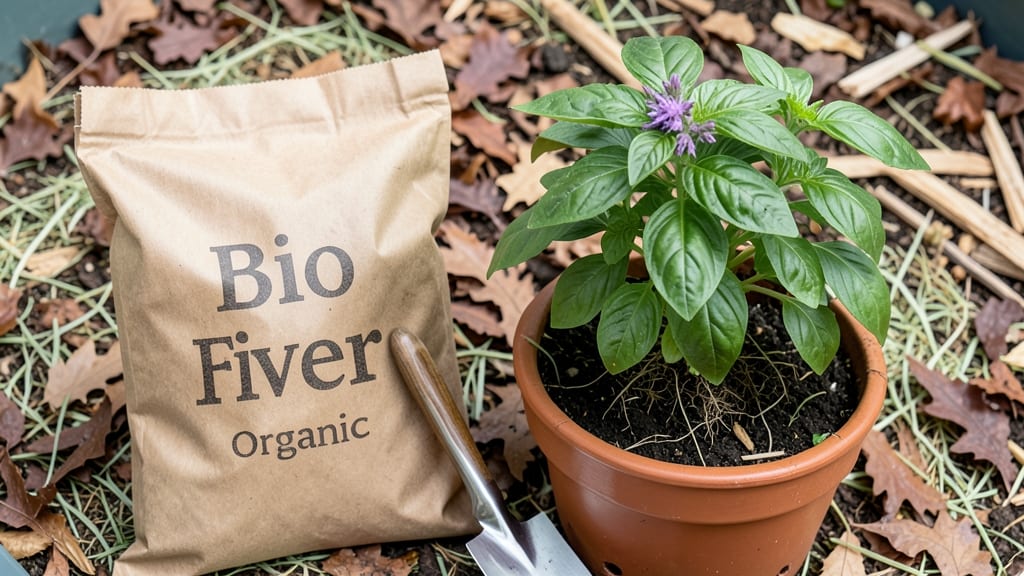
Transforming compacted soil into a root-friendly haven starts with bio fiber organic soil conditioner—this loose, fibrous material is the secret weapon behind lush, well-drained garden beds that plants actually love. 🌱 I’ve used it to revive heavy clay soil in my backyard, and the difference in root growth is night-and-day compared to regular compost.
The magic happens when it breaks down slowly, creating tiny air pockets that roots crave while holding moisture just enough to prevent drought stress. Unlike peat moss or straight compost, it doesn’t compact over time, so your soil stays fluffy for years.
Perfect for vegetable gardens, container mixes, or even lawn revitalization—just mix it in before planting and watch roots spread effortlessly. You’ll see stronger seedlings, fewer wilting plants, and a soil structure that feels like a spa for roots. The best part?
It works with almost any plant—especially heavy feeders like tomatoes and peppers that need deep, oxygen-rich soil to thrive. For best results, blend it into the top 6–12 inches of soil before planting, or top-dress established beds in early spring.
Avoid overdoing it—too much can make soil too loose for some plants, but a 20–30% mix is a safe starting point.
📚 In This Guide
- What you need
- Instructions
- Tips and common mistakes
- Wrapping up and next steps
What you need
- ● Bio fiber (e.g., coconut coir or wood fiber): 5–10 lbs (adjust based on garden size). Choose untreated, organic fibers for best results.
- ● Compost: 3–5 lbs. Use well-aged, nutrient-rich compost (avoid fresh manure).
- ● Perlite or vermiculite: 2–3 lbs. Adds aeration and moisture retention.
- ○ Worm castings: 1–2 lbs (optional but highly beneficial for microbial activity).
- ● Organic matter boosters (pick 1–2): Sawdust or shredded leaves (1–2 lbs)
- ● Peat moss (1–2 lbs, if your climate allows)
- ● Garden gloves (to protect your hands from sharp fibers).
- ● Large mixing bin or wheelbarrow (for blending materials).
- ● Garden fork or trowel (for incorporating into soil).
- ● Watering can or hose (to moisten the mix).
- ○ pH testing kit (optional) – Ensures your mix is soil-friendly (aim for 6.0–7.0).
- ● 💡 Balance is key: Mix bio fiber with compost in a 3:1 ratio for optimal structure.
- ● 🌡️ Moisture matters: Keep the blend damp (like a wrung-out sponge) before use—this activates microbial activity.
- ● 🎯 Layer it right: Spread a 2–3 inch layer over garden beds or topsoil for best aeration.
Step-by-Step guide to using bio fiber organic soil conditioner
Transform compacted soil into a fluffy, oxygen-rich growing medium that roots love.
🌱 Step 1: Test and Prepare Your Soil
Start by assessing your soil’s current state. Dig a small hole about 6 inches deep—if the soil feels hard, clumps tightly, or holds water like a sponge, it’s time for an upgrade. Bio fiber works best in clay-heavy or densely packed soils where roots struggle to spread.
Remove any large rocks or debris from the area. Loosen the top 4-6 inches of soil with a garden fork or tiller. This creates space for the bio fiber to integrate without fighting compacted layers. The goal is to mimic the natural, airy texture of forest floor soil where organic matter thrives.
🌿 Step 2: Apply the Bio Fiber Evenly
Spread the bio fiber organic soil conditioner over the prepared area using a ¼ to ½ inch layer—think of it like dusting flour over a cake. For a 10-foot by 10-foot area, you’ll need roughly 2-3 cubic feet of bio fiber. Work it gently into the top 2-3 inches of soil with your hands or a rake.
Don’t overdo it—too much can create air pockets that dry out too quickly. Mix it just until the soil looks darker and feels lighter, like crumbly cake batter. If you see clumps, break them up with your fingers to ensure even distribution. This step is where the magic happens: the bio fiber starts breaking down immediately, inviting beneficial microbes to colonize.
💧 Step 3: Water Thoroughly and Monitor
After applying, water the area deeply—1-1.5 inches of water—to help the bio fiber settle and activate. You’ll notice the soil darkens slightly and holds moisture better than before. Over the next 24-48 hours, check the soil’s moisture level by sticking your finger 1 inch deep. It should feel damp but not soggy.
Bio fiber works best when kept consistently moist during the first 2-3 weeks as it decomposes. This is when roots will start exploring the newly aerated soil. If the surface dries out, water lightly to keep it from forming a crust. Think of it like prepping a cozy bed for seedlings—roots will follow where the conditions are perfect.
✂️ Step 4: Plant and Maintain
Once the bio fiber has had time to integrate (usually 1-2 weeks), plant your chosen species. The improved soil structure means you can space plants slightly closer together—roots will spread more efficiently. Dig holes just deep enough to accommodate the root ball, then backfill with a mix of the amended soil and any remaining bio fiber.
After planting, water again to settle everything in. Moving forward, you’ll notice less frequent watering needs because the bio fiber retains moisture while allowing excess to drain. Keep an eye out for weeds—they’ll struggle in this loose, well-aerated soil, giving your plants a competitive edge. This is your soil’s new superpower: healthier roots, stronger plants, and fewer headaches.
☀️ Step 5: Replenish as Needed
Bio fiber breaks down over time, so plan to top-dress with a fresh layer (¼ inch) every 6-12 months
For container gardens, mix 10-20% bio fiber into your potting mix at planting time. This is especially helpful for heavy feeders like tomatoes or peppers, which deplete nutrients quickly. The result? Plants that thrive without the guesswork of constant amending. It’s like giving your garden a permanent upgrade—no need to start from scratch every season.
Tips & tricks for perfect bio fiber soil transformation
Here’s how to turn your garden’s toughest soil into a root-friendly haven—without the guesswork!
Soil Assessment Matters: In Step 1, when you’re testing that 6-inch hole, pay close attention to how the soil feels when squeezed. If it holds its shape like a brick or oozes water, you’re dealing with severe compaction. Bio fiber thrives in these conditions, but you’ll need to loosen the top 4-6 inches thoroughly—think of it like fluffing a pillow for your plants. A garden fork works best for breaking up dense layers without pulverizing everything.
Application Precision: That ¼ to ½ inch layer in Step 2 is your sweet spot—any thicker and you risk creating air pockets that dry out too fast. For a 10x10 area, spread the 2-3 cubic feet evenly first, then gently work it into the top 2-3 inches. Pro tip: Use a rake to create shallow furrows before applying, which helps distribute the bio fiber more uniformly. This step is where the real magic begins—those beneficial microbes get to work immediately!
Moisture Monitoring: After watering that 1-1.5 inches in Step 3, check moisture by sticking your finger 1 inch deep—it should feel like a damp sponge, not a wet sponge. During those first 2-3 weeks, keep the surface consistently moist (not soggy!) to prevent crusting. I’ve seen gardeners overwater here, thinking more is better—too much water can suffocate the microbes we’re trying to cultivate. Think of it like Goldilocks: just right!
Planting Timing: The 1-2 week integration period in Step 4 is non-negotiable for best results. I know it’s tempting to rush, but patience here pays off with roots that spread like they’re on a vacation. If you’re in a hurry, you can plant after just 7-10 days, but your plants will establish more slowly. For container gardens, mix that 10-20% bio fiber right into your potting mix—it’s a game-changer for heavy feeders like tomatoes.
Pro Tips for Bio Fiber Organic Soil Conditioner
- Here’s how to turn your garden’s toughest soil into a root-friendly haven—without the guesswork!
- Soil Assessment Matters: In Step 1, when you’re testing that 6-inch hole, pay close attention to how the soil feels w...
- Application Precision: That ¼ to ½ inch layer in Step 2 is your sweet spot—any thicker and you risk creating air pock...
Frequently asked questions
Got questions about bio fiber organic soil conditioner?
You’re not alone! Here are some of the most common ones—plus straightforward answers to help you get the most out of this game-changing soil amendment.
What exactly is bio fiber organic soil conditioner, and how is it different from regular compost?
Bio fiber organic soil conditioner is a loose, fibrous blend of organic materials like coconut coir, wood chips, and composted plant residues. Unlike dense compost, it’s designed to improve aeration, drainage, and root penetration while slowly breaking down. Think of it as a "base layer" for healthier soil structure—perfect for gardens, potted plants, or seed-starting mixes!
How long does it take for bio fiber organic soil conditioner to break down?
Most bio fiber blends decompose 3–12 months, depending on moisture, heat, and microbial activity. Coarser fibers (like wood chips) take longer, while finer materials (like coconut coir) degrade faster. Pro tip: Mix it into the top 6–8 inches of soil for best results—it’ll improve texture immediately while enriching soil over time.
Can I use bio fiber organic soil conditioner as a standalone growing medium?
While it’s not a complete replacement for potting soil, it’s great for amending existing soil or creating lightweight mixes (e.g., 50% bio fiber + 50% compost). For containers, blend it with a balanced potting mix to prevent compaction. Avoid using it alone for heavy feeders like tomatoes—they’ll need extra nutrients!
Do I need to water differently after adding bio fiber organic soil conditioner?
Yes! Bio fiber blends dry out faster than clay-heavy soils, so monitor moisture closely—especially in pots. Water deeply but less frequently to encourage root growth into the fibrous structure. Mulch the surface to retain moisture and regulate temperature. Overwatering can lead to mold, so aim for evenly damp (not soggy) soil.
What’s a good alternative if I can’t find bio fiber organic soil conditioner?
DIY it! Blend equal parts of:
- Composted leaves or grass clippings
- Shredded newspaper or cardboard (for structure)
- Coconut coir or peat moss (if available)
Wrapping up and next steps
Transforming your garden into a thriving ecosystem starts with the right foundation—and bio fiber organic soil conditioner is your secret weapon! 🌱 By improving aeration, moisture retention, and nutrient availability, this natural amendment gives your plants the loose, airy base they crave for strong root growth.
Whether you're a seasoned gardener or just starting out, making the switch to organic soil conditioning is a game-changer for healthier, more resilient plants.
Ready to see the difference? Start small—amend a single bed or pot this season—and watch your plants flourish! 🌿 For even better results, pair it with compost or mulch to create the ultimate organic growing environment.