
How To
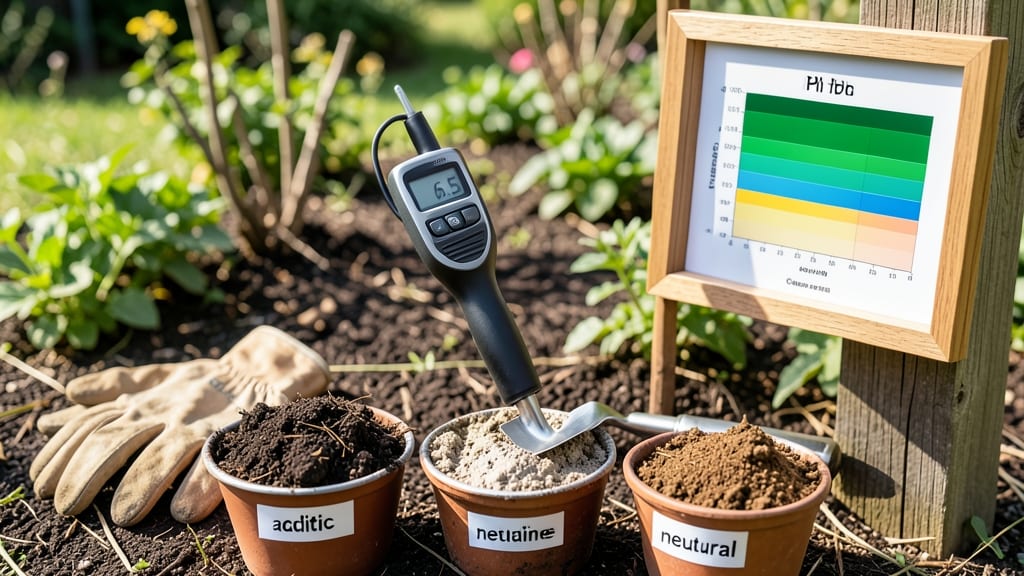
A soil pH tester meter reveals the hidden truth about your garden’s foundation—because even the most beautiful plants struggle when their roots aren’t happy. 🌱 Last spring, my blueberries wilted despite perfect watering, until I discovered my soil was too alkaline.
The meter doesn’t just give numbers—it tells you why your tomatoes taste bland, why your roses refuse to bloom, or why your lawn looks like it’s fighting an invisible battle.
Most testers come with vague instructions, but the real magic happens in the calibration step—skipping it means readings that could be off by 1.5 points, sending you down the wrong amendment path. You’ll need distilled water, a clean container, and about 10 minutes to get reliable results.
The meter itself costs less than $20, but the knowledge it unlocks saves you from wasting money on the wrong soil amendments.
Once you’ve got accurate readings, the next step is simple: match your plants to their ideal pH. Blueberries crave acidity (4.5–5.5), while asparagus thrives in slightly alkaline soil (7.0–8.0). A reading of 6.8 might feel "neutral," but for many vegetables, that’s actually too high.
You’ll learn how to adjust with everyday materials—like coffee grounds for acid-loving plants or crushed eggshells for a gentle alkaline boost.
This isn’t just about fixing problems—it’s about unlocking potential. My zucchini plants went from sad, stunted leaves to producing three times the harvest after a simple pH adjustment.
The meter pays for itself in one season, and the skills you learn apply to every garden bed, pot, or container you’ll ever tend.
📚 In This Guide
- What you need
- Instructions
- Tips and common mistakes
- Wrapping up and next steps
What you need
- ● Soil pH Tester Meter – A reliable, calibratable digital meter (e.g., Bluelab pH Meter, Apera Instruments, or ATC Soil pH Tester). Ensure it includes calibration electrodes.
- ● pH Calibration Buffers – A 2-point calibration kit (typically pH 4.0 and pH 7.0 buffers) or a 3-point kit (adding pH 10.0 for broader accuracy). Use fresh buffers for best results!
- ● Distilled or Deionized Water – At least 500 mL to rinse the probe and prepare buffer solutions.
- ● Soft Cloth or Kimwipes – For gently cleaning the probe between tests.
- ● Small Containers or Beakers – Two 100–250 mL containers to hold calibration buffers.
- ● Stirring Rod or Spoon – To mix soil samples or buffer solutions evenly.
- ● Soil Sample – A fresh, 2–3 tbsp sample from your garden (avoid contaminated or treated soil).
- ● pH 10.0 Buffer – For advanced calibration if your meter supports it.
- ● Storage Solution – A 3M KCl solution (potassium chloride) to preserve the probe when not in use.
- ● Digital Scale – To measure precise soil weights (helpful for consistency).
- ● Notebook or App – To log readings before/after calibration for tracking trends.
Step-by-step instructions for calibrating a soil pH tester meter
Here's how I ensure my meter delivers precise readings every time—critical for diagnosing plant health issues.
🔬 Step 1: Prepare the Meter and Calibration Solutions
First, check your meter's manual for any manufacturer-specific calibration requirements. Most digital meters come with pH 4.0 and pH 7.0 calibration solutions—these are your reference points. Fill two clean containers with distilled water (tap water contains minerals that skew readings) and add 5 drops of pH 4.0 solution to one, and 5 drops of pH 7.0 solution to the other.
Insert the meter probe into the pH 7.0 solution and wait 30 seconds for the reading to stabilize. If it doesn't display 7.0 ± 0.1, your meter may need a factory reset or battery replacement. Here's the thing—calibration only works if the meter itself is functioning properly. I've wasted hours troubleshooting "dirty probes" when the real issue was dead batteries.
🔄 Step 2: Perform the Two-Point Calibration
Start by rinsing the probe with distilled water between each solution to prevent cross-contamination. Submerge the probe in the pH 7.0 solution and press the calibration button (usually labeled "Cal" or "Set"). Wait 60 seconds for the meter to adjust—you'll see the display flicker briefly before stabilizing. This sets your neutral reference point.
Transfer the probe to the pH 4.0 solution and press the calibration button again. The reading should now stabilize at 4.0 ± 0.1. If it drifts by more than 0.2 pH units in either direction, repeat the process or consult your manual for advanced calibration modes. I know it seems tedious, but skipping this step means your readings could be off by 1.5 pH units—enough to misdiagnose a lime-loving azalea as needing acid!
💧 Step 3: Test Soil Sample Preparation
Collect 4-5 soil samples from 2-3 inches deep in your garden bed, avoiding surface debris. Mix them in a clean bucket and remove any large particles or organic matter. Moisten 2 tablespoons of soil with 1 tablespoon of distilled water—this creates a slurry that mimics natural soil moisture without altering pH readings.
Stir the mixture until it reaches a thick paste consistency (like wet sand). Avoid compacting it—you want air pockets for accurate probe contact. Here's what I do next: I press the probe gently into the slurry, ensuring it's fully submerged but not forced. Wait 2 minutes for the reading to stabilize. The key is patience—rushing leads to false low readings because the probe hasn't fully equilibrated.
⚖️ Step 4: Verify Readings with Known pH Materials
For extra accuracy, test the meter against known pH materials like coffee grounds (typically pH 4.5-5.5) or crushed eggshells (around pH 7.5-8.5). Compare your meter's reading to established values—if they match within 0.3 pH units, your calibration is solid. I like to test against a commercial pH test kit as a final check, especially when diagnosing nutrient deficiencies.
Remember: Soil pH fluctuates naturally by 0.5 units in different areas of the same bed. Take 3-5 readings per zone and average them. If one spot reads 6.8 while another shows 7.5, you're dealing with microclimates that affect plant uptake differently. That's why I map my garden by pH zones—it changes how I group plants together.
⏰ Step 5: Maintain Calibration Between Uses
After each use, rinse the probe with distilled water and store it in the pH 7.0 solution when not in use. This prevents the probe from drying out or picking up contaminants. Recalibrate monthly or after 20-30 soil tests—even with proper storage, probes degrade over time. I mark my calendar because drift happens silently, and you won't notice until your blueberries start yellowing despite your "perfect" pH readings.
Here's the final tip: Temperature matters. Most meters assume 68-77°F—if your soil is cooler (like in spring), readings can skew 0.2 units low. For extreme accuracy, let the probe and soil sample sit at room temperature for 15 minutes before testing. That small adjustment keeps your diagnostics sharp enough to spot micronutrient imbalances before they become visible problems.
Tips & tricks for calibrating your soil pH meter
Precision matters when testing soil health—here's how to avoid common calibration pitfalls and get readings you can trust.
Probe Care is Non-Negotiable: Between each calibration step, rinse the probe thoroughly with distilled water and gently pat it dry with a lint-free cloth. I learned this the hard way after my meter gave inconsistent readings—turns out residual pH 4.0 solution was contaminating my pH 7.0 test. Always store the probe in the pH 7.0 solution when not in use to maintain electrode hydration.
Timing Secret for Accurate Readings: Those 30 seconds in Step 1 and 60 seconds in Step 2 might feel like forever, but they're critical. The probe needs time to stabilize—rushing leads to readings that can drift by 0.5 pH units or more. I set a timer on my phone so I don't get impatient. For the soil sample in Step 3, the full 2 minutes is equally important; this ensures complete equilibration between the probe and soil slurry.
Temperature Control Matters: Most meters assume a working range of 68-77°F. If your soil sample is cooler (like fresh spring soil), readings can skew low by 0.2 units. For extreme accuracy, let both the probe and soil sample sit at room temperature for 15 minutes before testing. I keep a small warming tray nearby during spring testing to maintain consistent temperatures, especially when working with cold compost samples.
Visual Calibration Check: After calibrating, look for these visual cues: the display should flicker briefly during adjustment, then stabilize smoothly. If it jumps erratically or takes longer than 60 seconds to settle, your meter might need professional servicing. I also check for condensation on the probe—excess moisture can cause false readings, so wipe it gently before each use.
Pro Tips for Soil Ph Tester Meter
- Precision matters when testing soil health—here's how to avoid common calibration pitfalls and get readings you can t...
- Probe Care is Non-Negotiable: Between each calibration step, rinse the probe thoroughly with distilled water and gent...
- Timing Secret for Accurate Readings: Those 30 seconds in Step 1 and 60 seconds in Step 2 might feel like forever, but...
Frequently asked questions
Got questions about using a soil pH tester meter? You’re not alone!
Here are answers to the most common concerns—from calibration to troubleshooting—to help you get precise readings every time.
How often should I calibrate my soil pH meter?
Calibrate your meter before every major use (e.g., seasonal planting) or if readings seem inconsistent. Most meters include pH 4.0 and 7.0 buffers—use them monthly for maintenance. Pro tip: Store your meter in a dry place to extend calibration intervals.
How long does it take for a soil pH test to stabilize?
Wait 30–60 seconds after inserting the meter for a stable reading. Stir the soil well first to avoid pockets of varying pH. For liquid meters, ensure the probe is fully submerged for at least 10 seconds. Patience pays off—rushing can skew results!
Are digital soil pH meters more accurate than pen-style ones?
Digital meters (with calibration) are more precise and less prone to drift, while pen-style meters offer convenience but may lack accuracy over time. For critical gardens (e.g., hydroponics or acid-loving plants), invest in a digital model with auto-calibration. Budget-friendly? Stick to reputable brands and recalibrate often.
Why is my soil pH meter giving inconsistent readings?
Inconsistencies often stem from dirty probes, poor calibration, or testing damp (not wet) soil. Clean probes with distilled water, recalibrate, and test soil at 50–60% moisture. If issues persist, check the meter’s battery or replace old probes. Quick fix: Soak the probe in vinegar (1:1 with water) for 5 minutes to remove mineral buildup.
Can I use a pH meter for both soil and hydroponic systems?
Most meters are soil-specific—hydroponic systems require lower pH ranges (5.5–6.5) and need meters designed for water testing. If repurposing a soil meter, rinse thoroughly between uses and recalibrate with pH 7.0 buffer. For hydroponics, a dedicated EC/pH combo meter is ideal.
Wrapping up and next steps
Mastering your soil pH tester meter is the first step to unlocking thriving plants and bountiful harvests! 🌱 By following calibration best practices—like using trusted buffers, maintaining clean electrodes, and double-checking readings—you’ll ensure your meter delivers accurate, reliable results every time.
Now that you’re equipped with the knowledge, take action: grab that meter, test your soil, and give your green friends the perfect growing conditions they deserve.
🚀 Next Steps:
- Test your soil’s pH today and adjust as needed.
- Track changes over time to fine-tune your gardening strategy.
- Share your success (or questions!) in the comments below.