
Fertilization
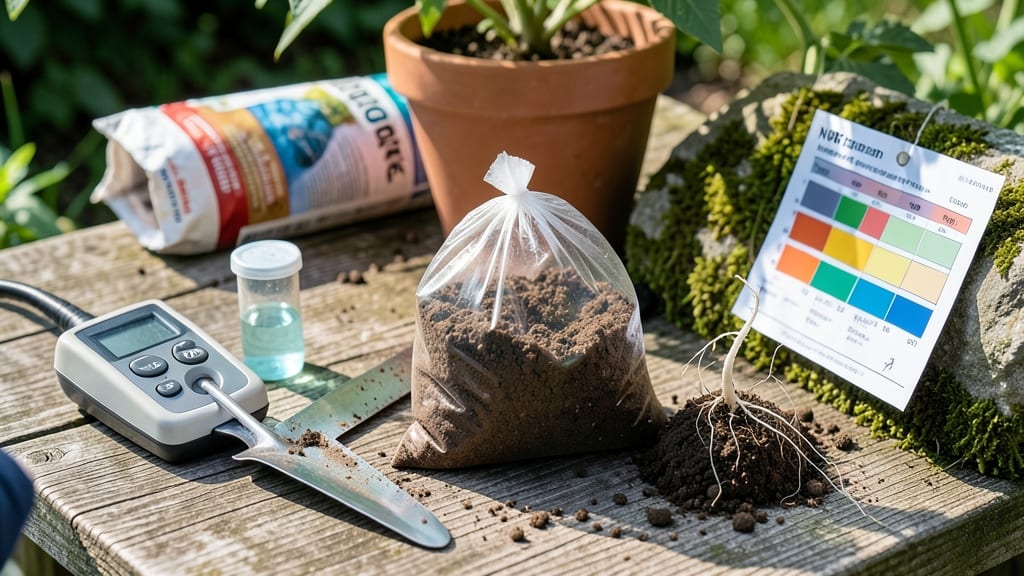
Testing your soil’s NPK levels reveals exactly what your plants are starving for before the leaves start yellowing or growth stalls.
Struggling with stunted plants or yellowing leaves? Your soil might be starving your garden—an NPK soil test reveals the exact nutrients your plants crave before symptoms appear.
This simple test breaks down nitrogen, phosphorus, and potassium into clear numbers, so you know whether to add compost, fertilizer, or lime. Without it, you’re guessing whether your garden needs a boost or a complete overhaul.
Below, I’ll walk you through how to read the results, fix deficiencies in 3 steps, and avoid common mistakes that throw off your soil’s balance.
What is an NPK soil test and why your plants need it
If your tomatoes refuse to ripen or your lawn grass grows patchy, the issue might be hiding in your soil. An NPK soil test unlocks the secret to what your plants are truly hungry for before symptoms like yellowing leaves or stunted growth appear.
Unlike guessing which fertilizer to use, this test gives you precise numbers for nitrogen (N), phosphorus (P), and potassium (K)—the trio that fuels every stage of plant growth.
Think of NPK as your garden's nutritional report card. Nitrogen (N) builds leafy greens, phosphorus (P) boosts root and flower development, and potassium (K) strengthens disease resistance.
When these ratios are off, your plants send distress signals—like purple stems (phosphorus deficiency) or weak stems (potassium shortage)—long before you notice poor yields. Testing beats guessing because it tells you exactly what to add, whether it's compost, bone meal, or a balanced fertilizer.
When should you test? The best times are early spring (before planting) and fall (to prep for winter). Avoid testing right after fertilizing or heavy rain, as those can skew results. For vegetable gardens, test every 1-2 years, while lawns may need annual checks if you notice thinning grass. Even potted plants benefit from occasional tests, as container soil depletes faster.
You have two main options for testing: DIY home kits (affordable and quick) or lab tests (more precise but pricier). Home kits use color-changing solutions to estimate NPK levels, while lab tests provide exact numbers.
For most gardeners, a $20 home kit is perfect for spotting major deficiencies, but if you're troubleshooting complex issues (like blossom end rot in tomatoes), a lab test’s accuracy pays off. Either way, you’ll avoid over-fertilizing—something that wastes money and harms plants.
Why does NPK matter so much? Plants can’t tell you they’re hungry, but their growth tells the story. Too much nitrogen? Lush leaves but no flowers. Too little phosphorus? Slow root growth and weak seedlings. Potassium deficiencies often show as yellow leaf edges or poor fruit quality. By testing, you’re essentially giving your plants a personalized diet plan tailored to their specific needs—whether they’re leafy greens, fruit-bearing plants, or ornamental flowers.
Here’s the kicker: Even "rich" soil can be missing critical nutrients. Sandy soils often lack phosphorus, while clay soils might be potassium-deficient. A test reveals these hidden imbalances so you can amend with the right products. For example, alfalfa meal adds nitrogen, greensand boosts potassium, and rock phosphate provides long-term phosphorus. Without testing, you’re flying blind—and your plants pay the price with poor health or low yields.
| Nutrient | Role in Plants | Deficiency Signs | Optimal Range (ppm) | Quick Fixes |
|---|---|---|---|---|
| Nitrogen (N) | Leaf growth, chlorophyll | Yellow leaves (chlorosis), stunted growth | 20–50 | Compost, manure, blood meal |
| Phosphorus (P) | Root development, flowering, fruiting | Purple stems, slow growth, poor fruit | 15–40 | Bone meal, rock phosphate, fish emulsion |
| Potassium (K) | Disease resistance, water regulation | Yellow leaf edges, weak stems, poor fruit quality | 100–300 | Wood ash, greensand, kelp meal |
Let’s say your test shows low phosphorus in your tomato patch. Instead of guessing, you’d add bone meal at planting time to encourage strong roots and better fruit set.
Or if your roses have weak stems, a potassium boost with wood ash (sprinkled lightly around the base) can prevent breakage in wind or rain. These targeted fixes save time, money, and frustration compared to dumping generic fertilizer hoping for the best.
Another game-changer? NPK tests help you avoid over-fertilizing, which burns plant roots and pollutes waterways. For example, lawns often get too much nitrogen, leading to thatch buildup and fungus problems.
A test tells you exactly how much 10-10-10 fertilizer to use—or whether you need a low-nitrogen blend for flowering plants like petunias. It’s like having a nutritional GPS for your soil, guiding you away from wasteful practices.
For organic gardeners, NPK tests are especially valuable because they help you choose the right amendments.
How to read NPK test results: fixing deficiencies step-by-step
Got your NPK soil test results back but staring at numbers like 5-2-3 leaves you confused? Those three digits reveal exactly what your plants are starving for—nitrogen (N), phosphorus (P), and potassium (K).
A low nitrogen reading (first number) explains those pale leaves, while low phosphorus (second number) could be why your flowers refuse to bloom. Let’s decode those numbers and fix deficiencies fast.
First, compare your results to ideal ranges: balanced soil typically shows 3-1-2 or 4-3-3 ratios. If your test reads 2-4-5, you’ve got a nitrogen deficiency but plenty of potassium.
The key is matching symptoms to the missing nutrient and choosing the right organic or synthetic fix. Ready to turn those numbers into a thriving garden?
NPK Fixes: Organic vs. Synthetic
🌿 Organic Fixes
- Low Nitrogen: Compost or alfalfa meal
- Low Phosphorus: Bone meal or rock phosphate
- Low Potassium: Wood ash or kelp meal
🧪 Synthetic Fixes
- Low Nitrogen: Urea (46-0-0) or ammonium sulfate
- Low Phosphorus: Superphosphate (0-20-0)
- Low Potassium: Potassium sulfate (0-0-50)
Start with nitrogen if your first number is below 3. For leafy greens like lettuce or spinach, spread 1-2 inches of compost over the soil and mix lightly.
For low phosphorus (second number < 2), sprinkle bone meal at 1 pound per 100 sq ft—it’s perfect for root crops like carrots or flowering plants. If potassium (third number) is lacking, lightly dust wood ash around plants, but avoid overdoing it—too much raises soil pH.
Pro tip: Pair fixes with deficiency symptoms. Yellowing leaves? Nitrogen deficiency. Purple stems? Phosphorus shortage. Weak stems or brown leaf edges? Potassium crisis. Cross-reference your test results with this symptom chart to zero in on the exact issue.
For example, if your tomatoes have yellow lower leaves but strong stems, you likely need more nitrogen—not potassium.
Timing matters too. Apply nitrogen-rich fixes in spring for leafy growth, while phosphorus and potassium amendments work best in early summer to support flowering and fruiting. Re-test your soil in 3-6 months to track progress.
Over-fertilizing is just as harmful as under-fertilizing—stick to the recommended rates on product labels or your test kit’s guidelines.
Remember, soil is a living ecosystem. While synthetic fertilizers deliver quick fixes, organic amendments like compost or manure improve soil structure over time. For example, compost tea boosts nitrogen gently, while crushed eggshells provide a slow-release calcium and phosphorus source.
Balance speed with sustainability—your plants (and the planet) will thank you.
Now grab your gloves and get fixing! With these step-by-step corrections, your garden will be back on track in no time. 🌱