
How To
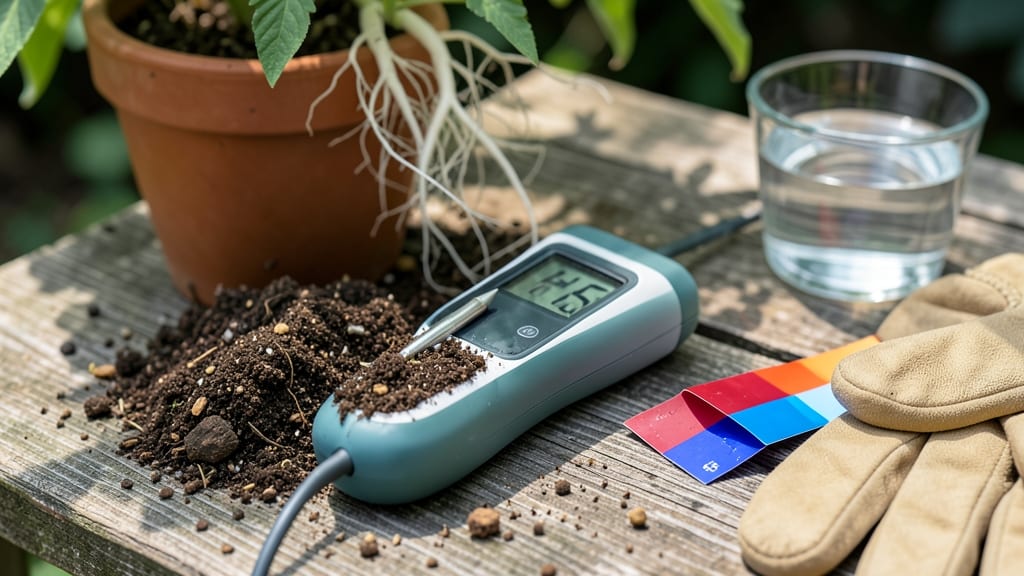
Your home soil pH tester just became the key to unlocking perfect plant health. 🌱 I remember the first time I tested my garden soil—my tomatoes were stunted, my blueberries refused to ripen, and I had no idea why.
A simple pH test revealed the problem: my soil was too alkaline for what I was growing.
The right pH means nutrients unlock properly, roots thrive, and plants grow strong. Most home testers give you a quick read in minutes, but accuracy starts with calibration and proper technique.
I’ll show you how to get reliable results every time, plus what to do when the numbers don’t match your plants’ needs.
Once you’ve got your pH reading, adjusting it is easier than you think. Too acidic? A handful of lime does the trick. Too alkaline? Sulfur or peat moss brings it back in balance.
You’ll see the difference in just weeks—lush foliage, vibrant blooms, and harvests that actually live up to their potential.
This isn’t just about fixing problems—it’s about setting up your soil for long-term success. Whether you’re growing veggies, flowers, or shrubs, getting the pH right is the foundation of a thriving garden. Let’s get those test strips ready and make your plants happier than ever.
📚 In This Guide
- What you need
- Instructions
- Tips and common mistakes
- Wrapping up and next steps
What you need
- ● Soil pH tester kit (digital or test strip-based, calibrated for accuracy) – 1 unit
- ● Gloves (nitrile or latex) – 1 pair (for hygiene)
- ● Trowel or small shovel – 1 unit (for soil sampling)
- ● Clean container (glass or plastic, 8+ oz) – 1 unit (for soil sample storage)
- ● Distilled water (for rinsing or mixing) – small bottle or pitcher
- ● pH calibration solution (if using a digital tester) – 1 bottle (check tester specs)
- ● Notebook or app (for recording pH levels) – 1 unit
- ● Ruler or measuring tape – 1 unit (for consistent soil depth sampling)
- ● Soil pH adjustment products (lime, sulfur, or organic amendments) – as needed
- ● pH test strips (backup) – small pack (for cross-verification)
- ● Moisture meter – 1 unit (to check soil hydration before testing)
- ● Labeling markers – 1 set (for organizing soil samples by plant type)
Step-by-Step instructions for testing soil pH at home
Here's how I ensure my soil pH readings are spot-on every time—no guesswork, just perfect plant health.
🧪 Step 1: Calibrate Your pH Tester Before Use
Start by rinsing your pH tester with clean water—this removes any mineral buildup from previous readings. Most testers come with two calibration solutions: one for pH 4.0 and one for pH 7.0. Pour the pH 4.0 solution into a clean container and dip the tester probe until the reading stabilizes at 4.0. If it doesn’t, follow the manufacturer’s instructions to recalibrate.
Repeat with the pH 7.0 solution—this confirms your tester is working accurately. I always test both ends of the pH scale because soil pH rarely stays neutral. If your readings are off by more than 0.2 pH units, your tester needs professional servicing. Calibration ensures you’re getting perfect accuracy for your plants’ needs.
🌱 Step 2: Collect a Representative Soil Sample
Grab a clean trowel and dig 4-6 small samples from your garden bed, spacing them 12-18 inches apart. Remove any debris, rocks, or plant material—you want pure soil. Mix these samples together in a clean bucket until you have about 2 cups of soil. This composite sample gives you an average reading for the entire area.
Moisten the soil slightly with distilled water if it’s bone-dry—this helps the tester’s probe make better contact. Avoid using tap water, as minerals can skew readings. If your soil is very sandy or clay-heavy, take extra samples because these textures affect pH differently. The goal is a consistent, representative sample for accurate results.
💧 Step 3: Prepare the Soil for Testing
Place 1 cup of your mixed soil into a clean, dry container—no plastic if it’s reactive (stick to glass or ceramic). Add 2 cups of distilled water and stir thoroughly until the soil is fully saturated but not soupy. Let it sit for 30 minutes, then stir again. This step mimics natural soil moisture and ensures the tester reads the active pH your plants experience.
If you’re testing container soil, use the same ratio but adjust for the smaller volume. For example, ½ cup soil + 1 cup water works for a 6-inch pot. Avoid overfilling the container—you need enough space to submerge the tester probe fully without touching the sides. The soil-water mixture should look like damp sand, not mud.
⏰ Step 4: Take the Reading and Interpret Results
Submerge the calibrated pH tester probe into the soil-water mixture, ensuring it doesn’t touch the container’s sides or bottom. Wait 1-2 minutes for the reading to stabilize—this is critical for accuracy. Most testers display the pH within 0.1 units, so note the exact number. For example, 6.2 is slightly acidic, while 7.5 is mildly alkaline.
Compare your reading to your plants’ needs: acid-loving plants (like blueberries or azaleas) thrive at 4.5-5.5, while vegetables (tomatoes, peppers) prefer 6.0-7.0. If your reading is off by more than 1.0 unit, you’ll need to amend the soil gradually. I always retest after amendments to confirm the change—perfect pH takes patience.
🌿 Step 5: Adjust Soil pH Based on Results
For acidic soil (below 6.0), sprinkle elemental sulfur or peat moss into the soil and water thoroughly. For alkaline soil (above 7.5), work in pelletized lime or wood ash. I like to mix amendments into the top 6 inches of soil and water deeply to activate them. Wait 4-6 weeks before retesting—rushing can burn plant roots.
If your soil is extremely compacted, aerate it first with a garden fork. Compacted soil holds amendments poorly and can trap them where roots can’t access them. For containers, flush the soil with water to remove excess salts before adding amendments. The key is small, measured changes—you’re aiming for perfect balance, not drastic shifts.
Tips & tricks for perfect soil pH testing at home
These little details make all the difference between a reading that's just "close enough" and one you can trust completely for your garden's health.
Calibration is Non-Negotiable: I can't stress this enough—always calibrate at both pH 4.0 and pH 7.0 before testing your soil. Some testers drift over time, especially if exposed to moisture or temperature changes. I keep my calibration solutions in a cool, dark place and check them monthly. If your reading at pH 4.0 is off by even 0.1 units, recalibrate immediately. That tiny drift can make your garden soil reading completely unreliable.
Sample Collection Strategy: The 4-6 samples from 12-18 inches apart in Step 2 might seem like overkill, but it's worth it. I've seen people take one sample from the center of their bed and wonder why their blueberries won't thrive when the rest of the soil is alkaline. For large gardens, add a sample from each distinct area—like where you'll plant tomatoes versus roses. Mixing these gives you the true average pH your plants will experience. For containers, take samples from multiple spots in the pot since pH can vary even in small volumes.
Moisture Matters More Than You Think: When preparing your soil in Step 3, aim for that "damp sand" consistency—not too wet, not too dry. Too much water dilutes the pH reading, while too little prevents proper probe contact. I use a spray bottle with distilled water to adjust sandy soils that dry out too quickly. For clay-heavy soils, you might need to add water gradually over 5-10 minutes while stirring to avoid creating mud. The 30-minute wait is crucial—this lets the soil's natural chemistry stabilize before testing.
Reading Interpretation Secret: Pay attention to those 0.1 unit increments when your tester stabilizes. A reading of 6.3 means your soil is slightly acidic, but 6.1 might mean you need amendments for blueberries. I keep a cheat sheet handy with ideal ranges for my common plants. And remember: plants can tolerate 0.5-1.0 units outside their ideal range, but growth will suffer. The goal is perfect balance, not just "good enough."
Pro Tips for Home Soil Ph Tester
- These little details make all the difference between a reading that's just "close enough" and one you can trust compl...
- Calibration is Non-Negotiable: I can't stress this enough—always calibrate at both pH 4.0 and pH 7.0 before testing y...
- Sample Collection Strategy: The 4-6 samples from 12-18 inches apart in Step 2 might seem like overkill, but it's wort...
Frequently asked questions
Got questions about using a home soil pH tester? You’re not alone! Here are answers to the most common concerns—so you can get back to growing with confidence.
How often should I test my soil pH at home?
For most plants, test your soil once every 3–6 months if conditions are stable. If you’ve recently amended the soil (added lime, compost, or fertilizer), test again after 2–4 weeks to check adjustments. Container gardens or high-stress environments (like drought) may need more frequent checks—every 1–2 months.
Why does my soil pH tester give inconsistent readings?
Inconsistent readings often stem from calibration issues or dirty probes. Always rinse the tester with distilled water before and after use, and calibrate it in pH 4.0 and 7.0 solutions (included with most kits). If readings still vary, let the soil sample dry slightly (moist, not soggy) for more accurate results.
Can I use a home pH tester for hydroponics or soilless mixes?
Yes! Home soil pH testers work for hydroponic nutrient solutions and soilless mixes, but with a twist: rinse the probe thoroughly with distilled water between tests to avoid residue buildup. For hydroponics, aim for a slightly narrower pH range (e.g., 5.5–6.2 for most crops) than soil-grown plants.
Are expensive pH meters worth it over cheap test kits?
Budget testers (strips or pen-style) are great for quick checks and beginners, but digital meters offer higher precision and calibration options. If you’re serious about container gardening, hydroponics, or troubleshooting nutrient deficiencies, a $20–$40 meter pays off long-term. For casual gardeners, strips work fine!
How do I fix soil pH if my tester shows extreme acidity (pH <5) or alkalinity (pH >8)?
| Issue | Solution |
|---|---|
| Too acidic (pH <5) | Add pelletized lime (for alkaline soils) or wood ash (sparingly). Re-test in 2–4 weeks. Never use quicklime—it burns roots! |
| Too alkaline (pH >8) | Mix in sulfur or peat moss (for acid-loving plants like blueberries). Effects take 1–3 months—be patient! |
Still stuck? Drop your question in the comments—we’re happy to help you dial in the perfect pH for your plants!
Wrapping up and next steps
Testing your soil’s pH at home isn’t just a chore—it’s the secret ingredient for thriving plants and bountiful harvests! 🌱 With a reliable home soil pH tester, you’re empowered to fine-tune your garden’s health with confidence.
Whether you’re a seasoned gardener or just starting, this simple tool puts the power of precision in your hands.
Ready to take the next step? Grab your tester, roll up your sleeves, and watch your garden flourish—one calibrated reading at a time! 💡