
Vegetables
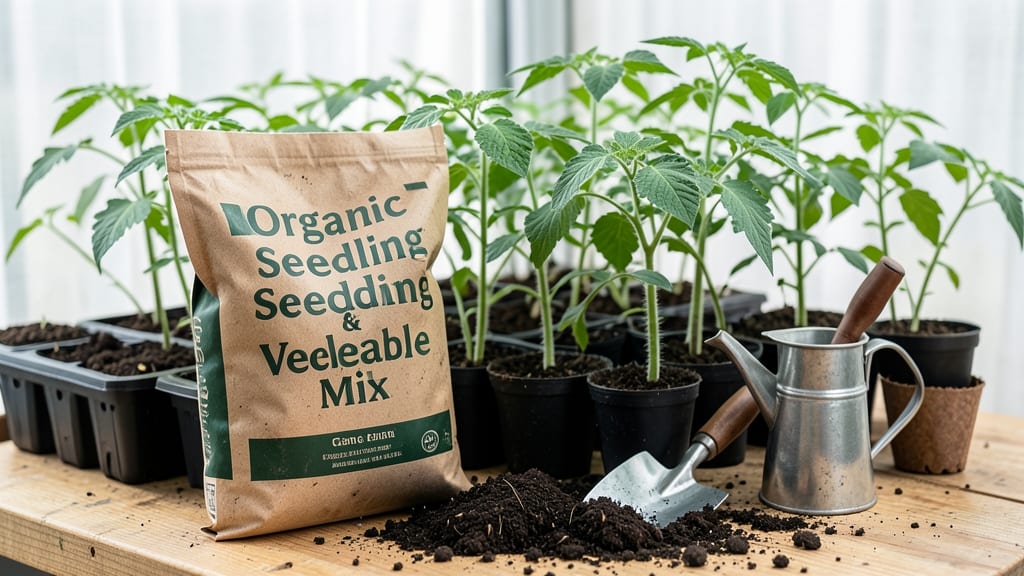
The right potting soil for tomato seedlings turns flimsy sprouts into sturdy plants ready for transplanting in 6-8 weeks. 🌱 I learned the hard way—heavy, clay-like mixes smother roots, while lightweight loam lets them spread fast. That first true leaf?
That’s when you decide whether your seedlings will thrive or struggle. Most store-bought mixes work fine, but the best blends combine peat moss or coconut coir for moisture retention, perlite or vermiculite for drainage, and compost or worm castings for nutrients. Avoid garden soil—it’s too dense and full of pathogens.
Sterilizing your mix with heat or a 1:10 bleach-water soak (let it dry first!) prevents damping-off disease. You’ll see roots growing through the pot sides within 2 weeks if the mix is right. Seedlings stay compact, dark green, and ready for their final home.
The key is balance: hold moisture but never stay soggy, and let air reach those tiny roots. Homemade mixes save money and let you control quality, but store-bought blends are convenient. Whatever you choose, never reuse old soil—it’s a disease waiting to happen.
Here’s how to get it perfect every time.
📚 In This Guide
- What you need
- Instructions
- Tips and common mistakes
- Wrapping up and next steps
What you need
- ● 1 part Peat moss or coconut coir – Holds moisture while allowing airflow (2-3 cups for a 1-gallon mix).
- ● 1 part Perlite or vermiculite – Improves drainage and aeration (2-3 cups).
- ● 1 part Compost or worm castings – Adds organic nutrients (2-3 cups).
- ● 1 part Garden soil or topsoil – Provides structure (2-3 cups).
- ○ Optional boosters: 1 tbsp balanced fertilizer (5-10-5 or 10-10-10) for extra nutrients.
- ● 1 tbsp lime (if your soil is acidic) to balance pH.
- ● Garden gloves – Protects hands from dirt and sharp perlite.
- ● Large mixing container (bucket, wheelbarrow, or clean tub).
- ● Small hand trowel or shovel – For blending ingredients.
- ● Watering can or spray bottle – To moisten the mix before planting.
- ○ pH testing kit (optional) – Ensures soil pH is between 6.0–6.8 (tomatoes love slightly acidic soil!).
How to select and mix potting soil for fast-germinating tomato seedlings
Here's the method I trust to create the perfect lightweight loam—tomatoes grow roots like crazy in this mix.
🌱 Step 1: Start with a Sterile Base Mix
Use a commercial seed-starting mix as your foundation—it's already formulated to be sterile, lightweight, and free-draining, which prevents damping-off and encourages fast root growth. I never use garden soil or potting mix alone because they compact too easily and harbor pathogens that can kill tender seedlings before they even sprout.
For 4 seedling trays, you'll need about 2 gallons of this base mix. Spread it evenly across your work surface and fluff it with your hands until it reaches a crumbly, almost powdery texture. This ensures air pockets form naturally, which young roots need to explore quickly. If the mix feels dense or clumps when squeezed, it's too compacted—add ½ cup perlite to lighten it up.
💧 Step 2: Amend for Faster Germination and Root Growth
The key to fast germination is adding worm castings—they introduce beneficial microbes that break down nutrients into forms seedlings can absorb immediately. Mix in ½ cup worm castings per 2 gallons of base mix using a clean trowel or your hands. Work it in thoroughly until the color shifts to a rich, dark brown with no dry patches.
Next, fold in 1 tablespoon of balanced fertilizer (5-5-5 or 10-10-10). This gives seedlings a nutrient boost right from the start, preventing the "leggy" growth that happens when they starve for phosphorus. I like to sprinkle it lightly over the mix first, then blend it in so it's evenly distributed—no clumps, or you'll create hot spots that burn delicate roots.
✂️ Step 3: Adjust Texture for Optimal Drainage
Tomato seedlings hate soggy roots, so the final texture must be loose and aerated. Test your mix by squeezing a handful—it should hold together lightly but crumble when released, like a damp sponge. If it feels too dense, add ¼ cup coarse sand or perlite and remix. If it's too fluffy, press it gently to firm it up just enough to support stems without compacting.
For 4 trays, your final mix should yield about 2.5 gallons of amended soil. Fill your seedling trays ¾ full, leaving room for seeds and top dressing. Tap the trays gently on the counter to settle the soil, then water lightly until the surface is moist but not dripping. This pre-moistening ensures even germination—no dry pockets where seeds might fail to sprout.
☀️ Step 4: Maintain Moisture Without Overwatering
After planting, cover the trays with a clear plastic dome or plastic wrap to retain humidity and warmth. Tomatoes germinate fastest at 75-85°F, so if your home runs cooler, place the trays on a seedling heat mat. Check the soil daily—it should stay evenly moist but never soggy. You'll know it's right when the surface looks slightly damp but doesn't glisten.
Once 50% of seeds have sprouted (usually 5-7 days), remove the dome immediately. Trapped humidity invites damping-off, a fungal disease that collapses seedlings overnight. From this point, water from the bottom by placing trays in a shallow tray of water for 10-15 minutes—this encourages roots to grow downward instead of sitting in wet soil.
Tips & tricks for perfect tomato seedling soil mix
Here's what nobody tells you about creating the ideal foundation for your tomato seedlings.
Sterility is Non-Negotiable: That commercial seed-starting mix is your best defense against damping-off, a fungal disease that can wipe out seedlings overnight. If you're using garden soil or potting mix, sterilize it first by baking at 180°F for 30 minutes or treating with hydrogen peroxide (3% solution, 1 part to 10 parts water). I learned this the hard way after losing a batch of heirloom tomatoes to unseen pathogens in my backyard soil.
The Texture Test: When you squeeze your mix in Step 3, it should feel like a damp sponge—not sticky, not crumbly. If it's too dense after adding perlite, mix in an extra 2 tablespoons of coarse sand. The goal is to mimic the airy texture of forest floor loam, where tomato roots naturally thrive. Too fluffy? Gently press the mix in your hands to firm it up just enough to support stems without compacting.
Fertilizer Distribution Matters: Sprinkling that 1 tablespoon of balanced fertilizer lightly over the mix first prevents clumping, which creates nutrient hot spots that can burn delicate roots. Think of it like seasoning a steak—even distribution is key. I also recommend using a fine-mesh strainer to sift the fertilizer over the mix for perfect dispersion.
Heat Mat Strategy: If your home stays below 70°F, that seedling heat mat becomes your secret weapon. Place the trays directly on it during germination (75-85°F range) to speed up sprouting. Once seedlings emerge, reduce heat to 65-70°F to prevent leggy growth. The mat should cover only the bottom of the trays—direct contact with the heat source is what makes the difference.
Pro Tips for Potting Soil For Tomato Seedlings
- Here's what nobody tells you about creating the ideal foundation for your tomato seedlings.
- Sterility is Non-Negotiable: That commercial seed-starting mix is your best defense against damping-off, a fungal dis...
- The Texture Test: When you squeeze your mix in Step 3, it should feel like a damp sponge—not sticky, not crumbly. If ...
Frequently asked questions
Got questions about potting soil for your tomato seedlings?
You’re in the right place! Here are answers to the most common queries—from timing to troubleshooting—to help you grow thriving plants with confidence.
What’s the best mix for potting soil for tomato seedlings?
A lightweight, well-draining blend is key! Aim for a 50/50 mix of peat moss or coconut coir and perlite/vermiculite (or a pre-mixed seed-starting formula). Avoid garden soil—it’s too dense and can compact, slowing root growth. Pro tip: Add a handful of compost for nutrients without compacting the mix.
When should I transplant seedlings into potting soil?
Wait until seedlings have 2-3 true leaves and are about 2-3 inches tall. Transplanting too early stresses delicate roots, while waiting too long risks overcrowding. Use small pots (2-3 inches deep) to start, then upgrade to 4-inch containers in 2-3 weeks. Timing tip: Harden off seedlings for 3-5 days before transplanting to toughen them up!
Can I reuse potting soil from last year’s tomato seedlings?
Not ideal! Old soil may harbor disease pathogens (like damping-off) or depleted nutrients. Sterilize it by baking at 200°F for 30 minutes or mixing in fresh compost (50/50 ratio). If you’re short on time, replace it entirely—your seedlings’ health is worth the effort. Safety first!
Why are my tomato seedlings wilting after transplanting into potting soil?
Wilting often signals overwatering, poor drainage, or transplant shock. Check the soil moisture—it should feel like a damp sponge, not soggy. Ensure pots have drainage holes and avoid bottom-watering (which can waterlog roots). If wilting persists, gently loosen roots and replant in fresh, airy soil. Revive tip: Mist leaves lightly to boost humidity while they recover.
What’s a cheap alternative to store-bought potting soil for tomato seedlings?
DIY blends work great! Mix equal parts coconut coir (or shredded peat moss) and perlite, then add a spoonful of compost or worm castings. Avoid yard soil—it’s heavy and may contain weeds/seeds. For extra nutrients, stir in a pinch of balanced fertilizer (5-5-5). Budget hack: Save money by reusing clean containers (like yogurt cups) for seedling pots!
Wrapping up and next steps
Choosing the right potting soil for tomato seedlings is your first step toward a thriving garden! A lightweight, nutrient-rich loam blend with good drainage and aeration sets the stage for fast root growth and robust plants.
With the right mix, you’ll be well on your way to harvesting juicy, homegrown tomatoes in no time.
Now that you’re armed with the knowledge, grab your gloves and get planting! Start by prepping your seedlings, then transfer them to their new pots with confidence. Happy gardening—your future tomato harvest is waiting! 🌱🍅