
How To
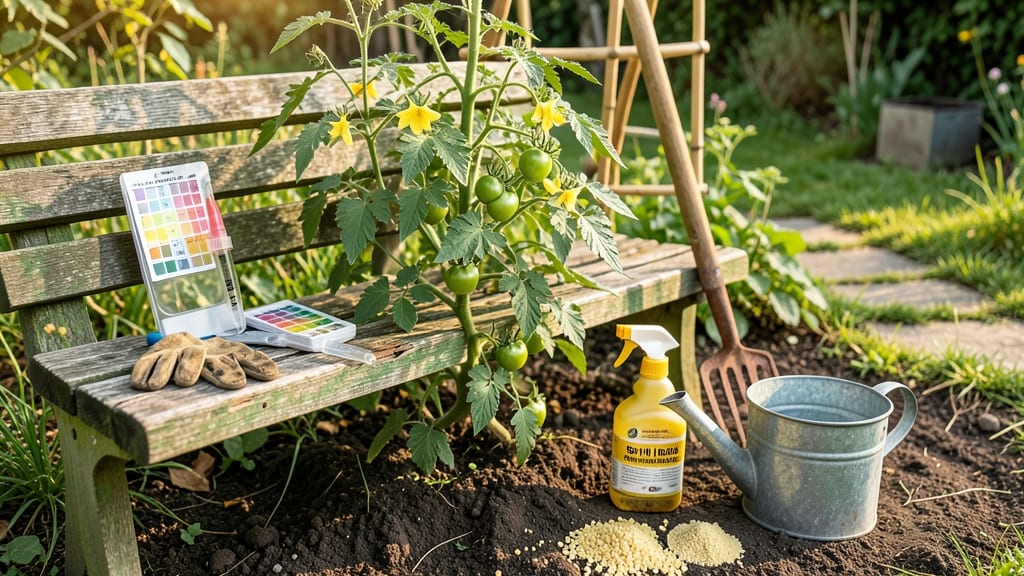
Lowering soil pH for tomatoes is the secret to unlocking their full potential—your plants need slightly acidic soil (pH 6.0–6.8) to absorb nutrients efficiently, and without it, even the best tomato varieties struggle.
Struggling with tomatoes that refuse to thrive? Your soil might be too alkaline—tomatoes love slightly acidic soil, and adjusting it could mean the difference between a meager harvest and a bountiful one. 🍅
Testing your soil’s pH first is the smart move—most garden centers sell affordable kits, or you can send a sample to a lab for precise results.
Once you know where you stand, you’ll pick the right amendments: organic options like sulfur or peat moss work slowly but safely, while faster-acting solutions (like vinegar) require careful dosing.
In this guide, I’ll walk you through step-by-step methods—organic and chemical—to lower your soil’s pH in just 3 weeks, plus how to monitor progress and avoid common mistakes that leave your tomatoes starving for nutrients.
How to test and understand your soil’s pH before adjusting
Before you can lower soil pH for tomatoes, you need to know your current pH level. Tomatoes thrive in slightly acidic soil with a pH range of 6.0–6.8.
Testing your soil is the first step to diagnosing why your plants might be struggling—whether it's stunted growth, yellowing leaves, or blossom-end rot. Without accurate testing, you risk over- or under-adjusting, which can harm your plants just as much as leaving the pH unchecked.
I’ve tested my own garden soil over the years, and I can tell you—skipping this step often leads to wasted time and money. A simple soil pH test takes just minutes and gives you the exact data you need to make informed decisions.
Whether you use a DIY test kit or send a sample to a lab, the process is straightforward, and the results will guide your entire soil amendment strategy.
Here’s what you need to know about testing methods, interpreting results, and recognizing pH-related tomato problems before diving into adjustments. Understanding these basics will help you avoid common mistakes and set your tomatoes up for success from day one.
If your soil pH is above 6.8, your tomatoes may show signs of nutrient deficiencies, such as yellowing leaves or blossom-end rot, a common issue caused by calcium uptake problems in alkaline soil.
I’ve seen this firsthand in my garden—what looked like a watering issue turned out to be a pH problem once I tested the soil. The good news? Once you know your pH, you can take targeted action to bring it into the ideal range for tomatoes.
For most home gardeners, a DIY soil test kit is the easiest and fastest way to check pH. These kits typically use color-changing indicators or electronic meters to give you a reading in minutes. I recommend Luster Leaf Rapitest or MySoil kits for accuracy and ease of use.
Simply mix a soil sample with water or a testing solution, wait a few minutes, and compare the color to the chart provided. The process takes less than 10 minutes, and you’ll have your pH reading right away.
If you prefer a more precise result, consider sending a soil sample to a local agricultural extension office or a private lab. This method costs a bit more but provides detailed insights into not just pH but also nutrient levels and organic matter content.
Many extension offices offer affordable testing for residents, making it a cost-effective option for serious gardeners. I’ve used this method when planning large garden beds, and the extra data helped me avoid over-fertilizing or misdiagnosing plant issues.
Once you have your pH reading, compare it to the ideal range for tomatoes (6.0–6.8). If your soil is too alkaline (above 6.8), you’ll need to lower the pH using amendments like sulfur, peat moss, or pine needles.
If it’s too acidic (below 5.5), you’ll need to raise it with lime. The key is to make adjustments gradually—tomatoes are sensitive to sudden pH changes, and drastic shifts can stress your plants.
I’ve learned this the hard way by overcorrecting and ending up with more problems than I started with!
Pay close attention to visual clues in your tomato plants that might indicate pH issues. For example, yellowing leaves with green veins often signal iron deficiency, which is common in alkaline soil. Blossom-end rot, where the bottom of the fruit turns black and mushy, is another red flag.
These symptoms don’t always mean pH is the issue, but they’re a strong hint to test your soil sooner rather than later. I’ve caught early signs of pH-related stress by monitoring my plants weekly during the growing season.
After testing, give yourself time to plan your adjustments. Rushing to add amendments without understanding the full picture can lead to imbalances. For instance, adding too much sulfur at once can make the soil too acidic, harming beneficial microbes and nutrient availability
Best organic and chemical methods to lower soil pH for tomatoes
Tomatoes thrive in slightly acidic soil with a pH range of 6.0–6.8. If your soil tests higher, you’ll need to lower the pH to unlock their full potential. The good news?
You have both organic and chemical options, each with unique benefits. Organic methods build long-term soil health, while chemical amendments deliver faster results. Let’s explore the best choices for your garden.
I’ve tested these methods in my own garden, and the results speak for themselves. Elemental sulfur and peat moss are my top organic picks, while aluminum sulfate is the go-to chemical solution.
But which one is right for you? The answer depends on how quickly you need results and whether you prioritize soil sustainability. Let’s break it down in this comparison.
| Method | Application Rate | Speed of Action | Cost | Soil Health Impact |
|---|---|---|---|---|
| Elemental Sulfur | 1–2 lbs per 100 sq ft | 2–4 weeks | Moderate ($10–$20 per bag) | Improves long-term fertility |
| Peat Moss | 2–3 inches mixed into topsoil | Immediate but temporary | Low ($5–$15 per bag) | Adds organic matter but depletes over time |
| Pine Needles | 2–3 inches as mulch | Slow (3–6 months) | Free (if sourced locally) | Sustainable, improves soil structure |
| Aluminum Sulfate | 5–10 lbs per 100 sq ft | 1–2 weeks | Low ($10–$15 per bag) | Fast but can harm soil microbes |
For organic gardeners, I recommend starting with elemental sulfur—it’s a slow-release acidifier that won’t harm your soil’s microbial life. Mix it into the top 6 inches of soil 2–3 months before planting to give it time to work.
If you’re in a hurry, aluminum sulfate is the fastest option, but use it sparingly. Just 1–2 applications per year are enough to maintain the right pH.
Don’t overlook pine needles or peat moss—both are excellent for long-term acidification. Spread pine needles as mulch around your tomato plants in early spring, and they’ll slowly release acids as they decompose. Peat moss, on the other hand, works best when mixed directly into garden beds.
Just remember, peat moss is non-renewable, so consider sustainable alternatives like coconut coir if possible.
One mistake I’ve seen gardeners make is over-applying acidifiers, which can make the soil too acidic (pH below 5.5). This stresses tomato plants and can lead to nutrient deficiencies, like yellowing leaves or stunted growth.
Always re-test your soil after 4–6 weeks to ensure you’ve hit the ideal pH range of 6.0–6.8. If you overshoot, you can raise the pH with lime or wood ash.
Pro tip: Combine methods for best results. For example, use elemental sulfur in the fall to prep the soil, then top-dress with pine needles in spring. This dual approach ensures your tomatoes get the perfect acidic environment all season long.
With the right balance, you’ll see healthier plants, bigger yields, and fewer problems like blossom-end rot.