
Vegetables
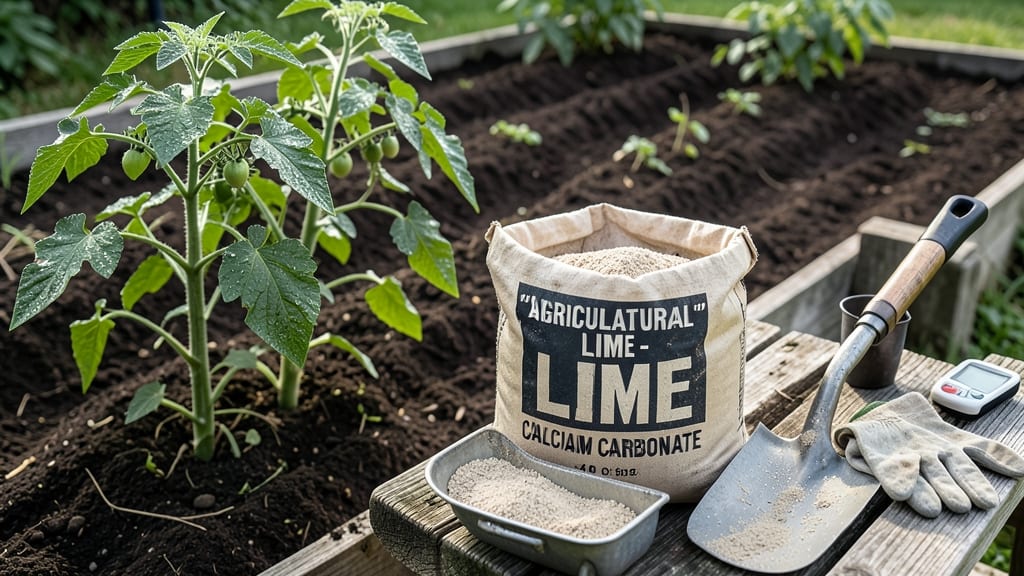
My tomatoes and peppers were struggling until I learned how to add lime to soil for vegetables—now they thrive with deep green leaves and bumper crops. 🌱 The secret? Testing soil pH first and using the right type of lime for your plants' needs.
Most gardeners overlook this step, but it's the difference between a decent harvest and a garden that truly excels.
You'll need a soil pH test kit (or vinegar/baking soda for a quick check), garden lime (pelletized or powdered), and a simple tool like a broadcast spreader. The process takes about 30 minutes, and the results—healthier soil, stronger plants—show up within weeks.
I started with my acidic soil in Zone 6 and saw a noticeable difference after just one application.
When done right, lime boosts nutrient availability, improves root growth, and prevents common deficiencies like yellowing leaves or stunted plants. My zucchini vines now sprawl with vigor, and my carrots grow straighter and sweeter. The key is patience—soil chemistry changes gradually, so monitor progress and adjust as needed.
This method works for any vegetable garden, whether you're growing in raised beds, containers, or open ground. The same principles apply to lawns and flowering plants too. Let's get those pH levels just right for your garden's best performance!
📚 In This Guide
- What you need
- Instructions
- Tips and common mistakes
- Wrapping up and next steps
What you need
- ● Garden lime (calcium carbonate): Quantity: 10–20 lbs per 100 sq ft (adjust based on soil pH test results).
- ● Type: Pelletized or powdered (pelletized is easier to spread).
- ● Brand suggestion: AgLime, Garden Lime, or agricultural-grade calcium carbonate.
- ● Soil pH test kit: Type: Digital or liquid test kit (e.g., Luster Leaf, MySoil, or API).
- ● Purpose: Confirm soil pH before and after liming (ideal range for most veggies: 6.0–7.0).
- ● Garden tools: Broadcast spreader ($20–$50, e.g., Scotts or Brinly).
- ● Garden rake (for even distribution).
- ● Gloves (to protect hands from dust).
- ● Watering can or hose: Purpose: Lightly water soil after applying lime (helps it sink in).
- ● Wooden ash: For an extra calcium boost (use sparingly—test first!).
- ● Compost or organic matter: Mix 1–2 inches into soil after liming for better nutrient absorption.
- ● pH buffer: If your soil is extremely acidic (pH , consider a fast-acting lime like dolomitic lime.
- ● Soil moisture meter: Ensure soil is slightly moist before liming (dry soil = uneven distribution).
Step-by-Step guide to amending soil with lime for vegetables
Here's my no-fuss method to adjust soil pH and unlock better growth for your veggies.
🪴 Step 1: Test Your Soil First
Before adding lime, grab a soil pH test kit—it tells you exactly how much to add. I like the quick test strips that give results in minutes. Dig a 6-inch sample from where you'll plant, mix it with water, and follow the kit instructions. Most vegetables thrive in 6.0-7.0 pH, so aim for that range.
If your soil tests below 6.0, you'll need lime. If it's already above 7.0, skip this step—lime won't help and could make things worse. I've seen gardeners overcorrect by adding lime to alkaline soil, which locks out nutrients instead of releasing them.
💧 Step 2: Choose the Right Lime and Calculate Amount
Use pelletized lime (it spreads evenly) or agricultural lime (calcium carbonate). Check the label for neutralizing power—typically 100 lbs per 100 sq ft raises pH by 1 point. For a 10x10 ft garden bed, you'd need about 1-2 lbs of lime to adjust pH by 0.5 points.
Spread the lime evenly over the soil surface using a spreader or rake. Work it into the top 2-3 inches of soil with a garden fork or tiller. Don't dig deeper—lime works best where roots actively grow. Water the area lightly after mixing to help it dissolve and start working.
☀️ Step 3: Wait and Retest Before Planting
Lime takes 2-3 months to fully adjust soil pH. Don't rush—planting too soon means the lime won't have time to integrate. I mark my calendar and retest the soil after 6-8 weeks to confirm the pH is in the ideal range for your vegetables.
If the pH still isn't right, repeat the process with a slightly smaller amount of lime. Overdoing it can make soil too alkaline, which causes nutrient deficiencies like yellowing leaves or stunted growth. For fast results, use fast-acting dolomitic lime, but it costs more and works for only one season.
✂️ Step 4: Maintain pH Long-Term
Soil pH changes naturally over time, especially in rainy climates. Test your soil every 1-2 years and reapply lime if needed. I keep a logbook noting when I last amended my soil and what the pH was—it saves guesswork later.
For acid-loving plants like blueberries or potatoes, you might need to add lime less often. But for most vegetables, a once-a-year check keeps things balanced. Avoid adding lime right before planting—give it time to work its magic before your seeds or transplants go in.
Tips & tricks for perfect soil pH adjustment with lime
Here's what nobody tells you about getting this right the first time.
Test Accuracy Matters: In Step 1, when you're testing your soil, take multiple samples from different spots in your garden bed. Soil pH can vary dramatically even within a small area. I've seen one corner test at 5.8 while another spot in the same bed reads 6.5—this can throw off your lime calculations. Mix your samples together before testing for an average reading. This ensures you're not over- or under-correcting based on just one spot.
Lime Type Choice: For Step 2, if you're working with clay-heavy soil, opt for pelletized lime—it spreads more evenly and won't clump like powdered lime. For sandy soils, agricultural lime works better because it dissolves faster. I always check the label for neutralizing power (usually 100 lbs per 100 sq ft per 1 pH point) to calculate exactly how much I need. Never guess—measure twice, apply once!
Timing is Everything: The 2-3 month wait in Step 3 isn't just arbitrary—it's when lime fully integrates with your soil. If you're impatient and plant too soon, the lime won't have time to work its magic, and your plants might still struggle. Mark your calendar 6-8 weeks after application to retest. Pro tip: Use a small garden flag or stake to mark the test spot so you don't accidentally sample untreated soil later.
Visual Cues for Success: After spreading lime in Step 2, look for even distribution—no piles or bare spots. The soil should look uniformly light-colored where you've applied it. When you work it into the top 2-3 inches, aim for a crumbly texture. If it feels gummy or compacted, add a bit more lime and till again. This ensures your roots will have access to the pH adjustment where they need it most.
Pro Tips for Adding Lime To Soil For Vegetables
- Here's what nobody tells you about getting this right the first time.
- Test Accuracy Matters: In Step 1, when you're testing your soil, take multiple samples from different spots in your g...
- Lime Type Choice: For Step 2, if you're working with clay-heavy soil, opt for pelletized lime—it spreads more evenly ...
Frequently asked questions
Got questions about adding lime to your soil? You’re not alone!
Here are some of the most common concerns—and straightforward answers—to help you get it right for your vegetable garden.
How do I know if my soil needs lime?
Test your soil’s pH first—aim for a range of 6.0 to 7.0 for most vegetables. If your soil is below 6.0 (acidic), lime can help. Use a home pH test kit or send a sample to your local cooperative extension office for precise results.
When is the best time to add lime to my vegetable garden?
Apply lime in early spring or fall, at least 2–3 months before planting. This gives it time to react with the soil. Avoid adding lime right before sowing seeds—it can slow germination. For container gardens, mix lime into the soil before planting.
How much lime should I use, and how often?
Follow the package instructions (usually 5–10 lbs per 100 sq ft for garden soil), but adjust based on your soil’s pH. Re-test after 3–6 months and reapply if needed. Over-limeing can raise pH too high—stick to 7.0 or below for most veggies.
Are there alternatives to lime for adjusting soil pH?
Yes! For lowering pH (making soil more acidic), use sulfur or peat moss. To raise pH slightly without lime, try wood ash (sparingly—it’s alkaline) or composted manure. However, lime is the most effective and long-lasting option for most gardens.
What if my plants look unhealthy after adding lime?
Yellowing leaves or stunted growth could mean over-liming (pH too high) or poor mixing. Flush the soil with water to dilute excess lime, or add organic matter (like compost) to buffer pH. If symptoms persist, retest your soil and adjust gradually.
Does lime affect all vegetables the same way?
Not quite! Most vegetables prefer slightly acidic to neutral soil (6.0–7.0), but a few (like blueberries or potatoes) thrive in acidic soil (5.0–6.0). Avoid lime for these plants—opt for sulfur instead. Always match amendments to your specific crops!
Wrapping up and next steps
Adding lime to your vegetable garden is a simple yet powerful way to create the perfect growing conditions for acid-loving plants like tomatoes, peppers, and blueberries! 🌱 By balancing soil pH, you’ll unlock healthier roots, richer flavors, and bountiful harvests.
Start small, test your soil, and adjust gradually—your future meals will thank you!
Ready to take the next step? Grab a soil test kit and check your garden’s pH today. If the numbers aren’t where you want them, it’s time to roll up your sleeves and give your soil the love it deserves! 💪